Recent Posts
The AI DM Gets an Upgrade: What Happened After the First Session
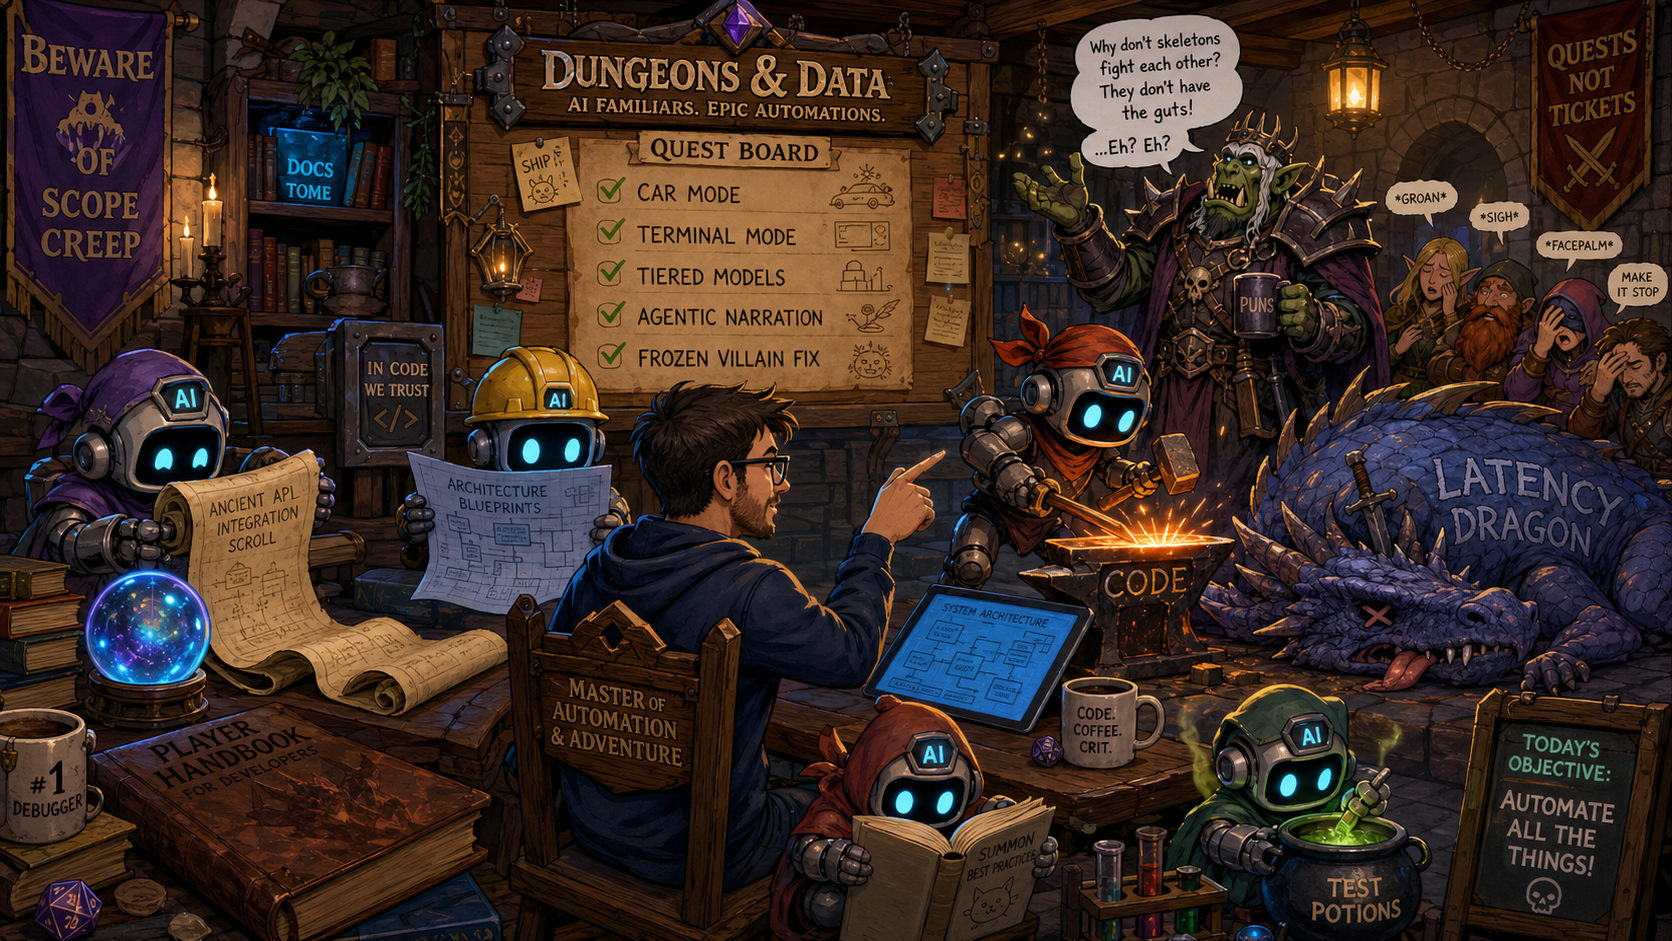
A lot happened to dnd-fam-ftw since the first post: car mode, terminal mode, tiered models, agentic narration, and a workflow where Codex checks the AI facts and Claude writes the code.
Squeezing More Out of Claude on a Personal Account
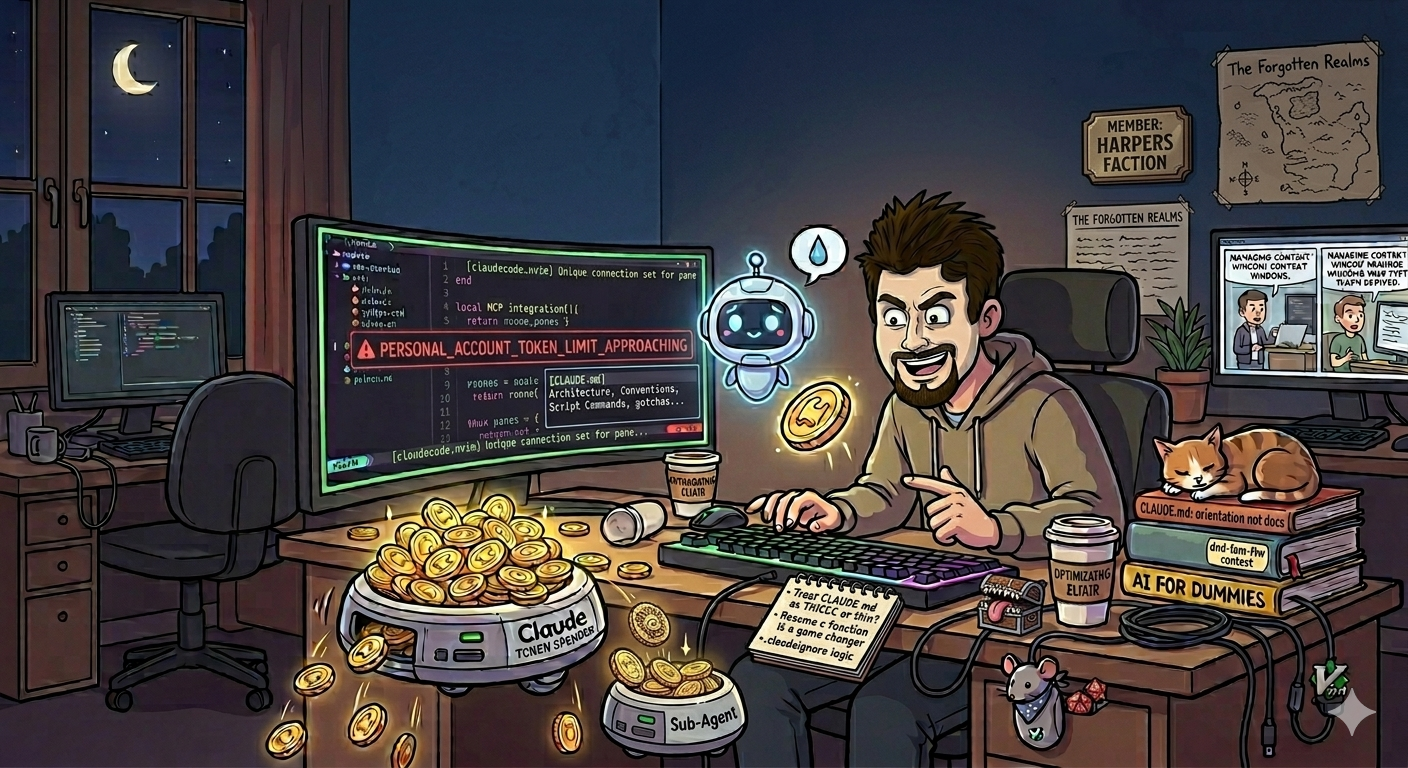
Practical optimizations I made while using Claude Code on a personal account to keep developing dnd-fam-ftw.
My Kid Didn't Want to DM, So I Built One
Built an open source, self-hosted AI Dungeon Master for family D&D nights. POC in under an hour, first playtest was a blast.
The Rat That Byte Twice
A rat ate my fiber optic cable. A technician came and fixed it. Ten minutes later, the rat ate it again.

ShelteryPie: A Missile Alert Led Lights
How I wired up a Raspberry Pi and some LEDs to stop my family from doom-scrolling during missile alerts. No app required. Just a light.

Auto Resume Claude Code Sessions

I’m a big user of Claude Code, their CLI is AMAZONG, you can even paste images of outputs and it’ll parse it.
Needless to say, I’m a heavy tmux user, and I usually have several sessions windows and pane open, with plentiful of Claude CLI sessions in place.
Why Penguins Don't Build Nests in Trees and Why That Matters for AI
A different kind of talk
I recently had the opportunity to speak at my kid’s class about AI.
It was not a conference talk. There were no slides about model architectures or leadership frameworks. There were 12 year olds, lots of opinions, and very little patience for fluff.
Which, in hindsight, was perfect.
TL;DR:
You can find:
Feel free to reuse or adapt them.
Putting the AI in TUI: When You Have 43 Minutes and a Commit Stuck in Your Head
How a busy engineering manager finds real coding flow in 43-minute windows, powered by Vim, tmux, Devbox, and a terminal-native AI assistant. Cold brew optional, terminal required.

From Clippy to Slippy: The Perils and Perks of AI in Management
If you were around in the early 2000s, you probably remember Clippy, the overly eager paperclip who popped up in Word to offer ‘helpful’ tips like how to write a letter (spoiler: nobody asked). Fast forward to today, and Clippy’s spiritual descendants are everywhere, only now they’re called AI assistants. As a manager, I’ve found that leaning on AI can feel like going from Clippy to Slippy: sometimes it smooths the path and saves me hours, and other times it slips me into awkward mistakes, tone-deaf messages, or content that reads like it was written by… well, a paperclip. This post is my testimony of both the perks and perils of letting AI sneak into management work.
EM <> PM: A Song of Ice and Fire
How an engineering manager and a product manager forged trust, shared ownership, and high-velocity delivery — without burning down the roadmap.